Requirements and initial setup
In order to install Linux on the PS4, a lot of things are needed. You may have to buy some gear to make this work.
Requirements
In a nutshell, you'll need:
- A PS4 (duh)
- Extra mouse and keyboard
- A USB hub to connect all the peripherals is recommended
- A computer
- An internet connection
- (Optional) - one or more USB drives
- If you want to install to an external drive, you can use a USB pendrive or HDD, but it's recommend to have a SATA SSD and a SATA to USB adapter (preferrably one that supports UAS).
Storage devices to install to
Before we talk about anything, you must choose now a method of installation. You will need a device to store Linux, obviously.
- Internal HDD
- Baikal still unsupported, veeery slow, needs free space
- External HDD/SSD
- External USB Hard Disk Drive or USB Solid State Drive. Use a USB 3.x capable disk and cable for the best performance
- External SATA-USB or NVMe-USB adapter (if using a SATA/NVMe drive)
- You can use a pendrive, nobody's stopping you, but it's gonna be painful
PS4 system
Some configuration is necessary on the PS4's side before we load Linux.
Things to note down
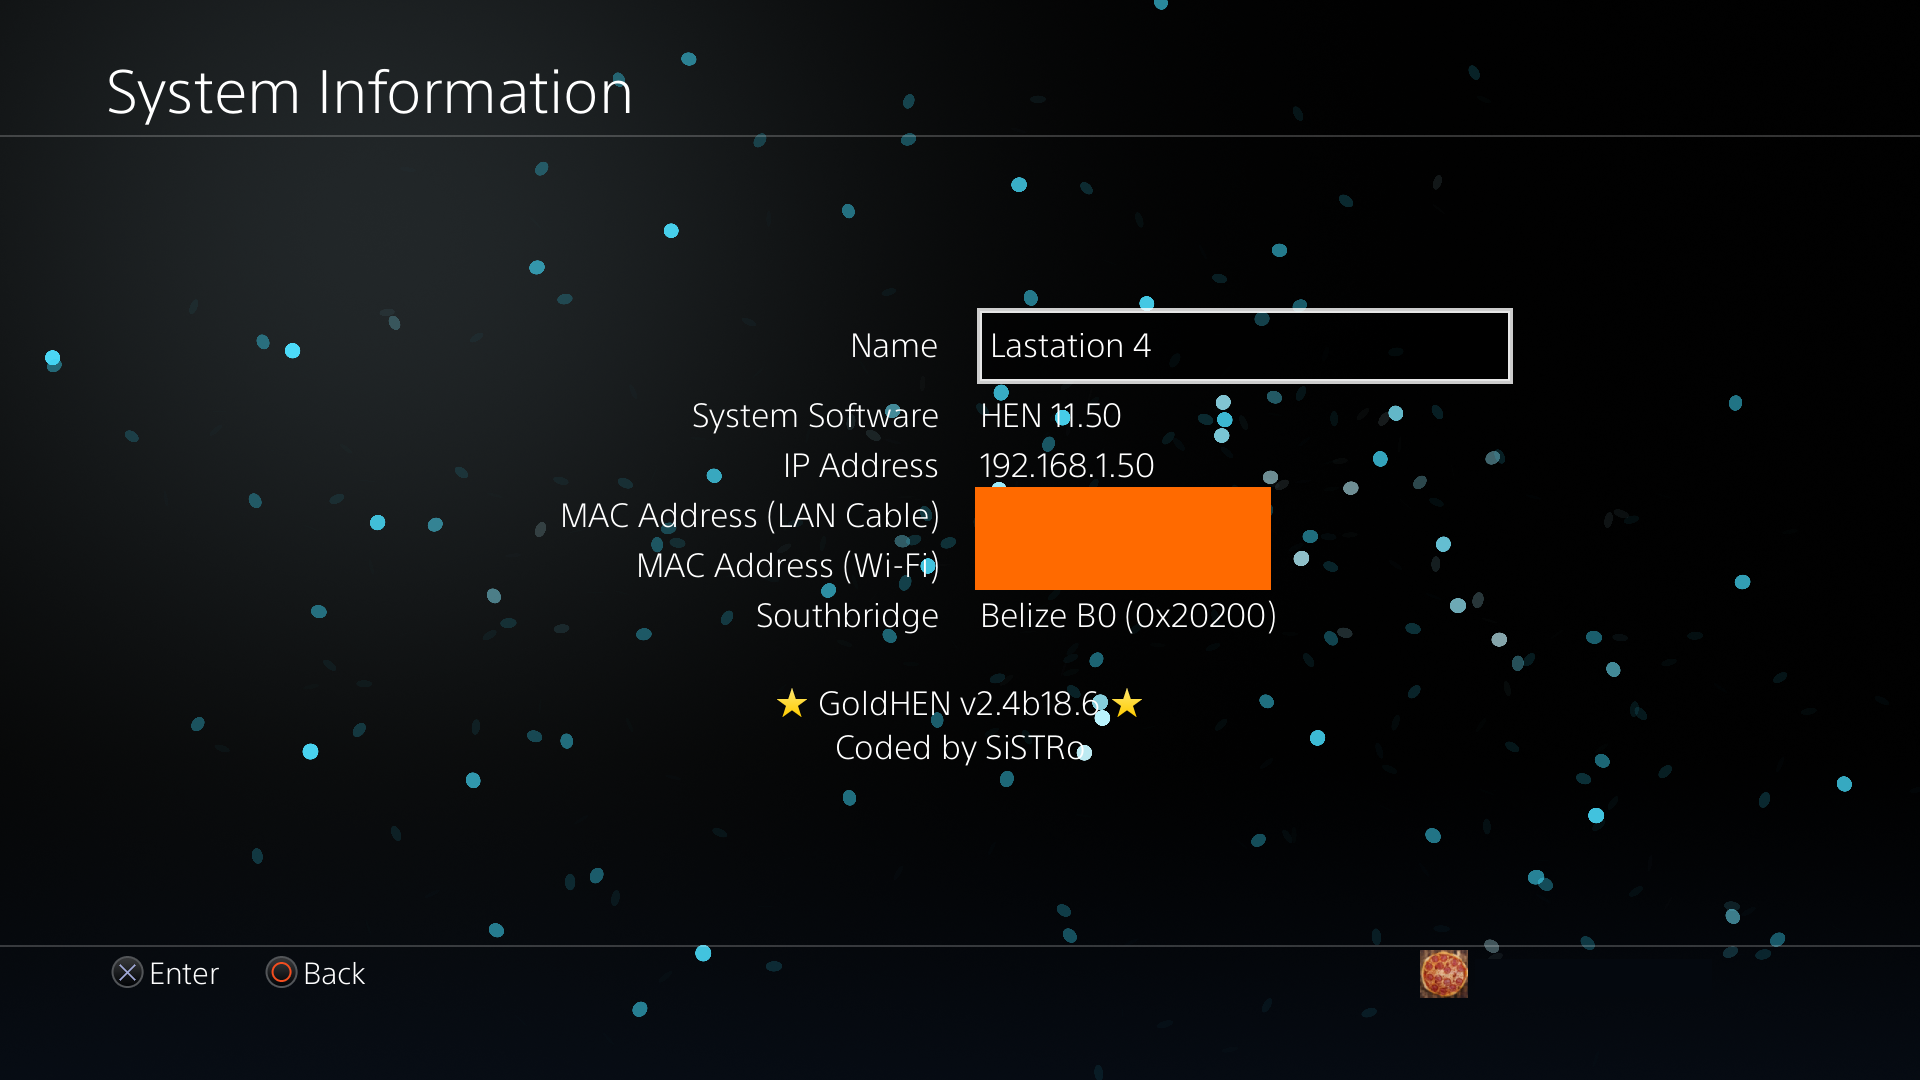
Note down what you see in "Settings -> System Information":
- System software version
- Southbridge
- Your GoldHEN or ps4hen version
HEN
WARNING
You mustn't use GoldHEN v2.4b18.8 as it doesn't boot! Always update to the latest version of GoldHEN!
You need a system that is already jailbroken and has a homebrew enabler (such as GoldHEN or ps4hen) running.
In order to input text on your PS4, you can't use the PS4 built in keyboard, as that is not available on Linux. You must have a keyboard and mouse combo ready to use with your PS4.
Payload server settings
Remember to check the GoldHEN "Server" settings (or ps4hen's equivalent if you're using that) so that they are both enabled:
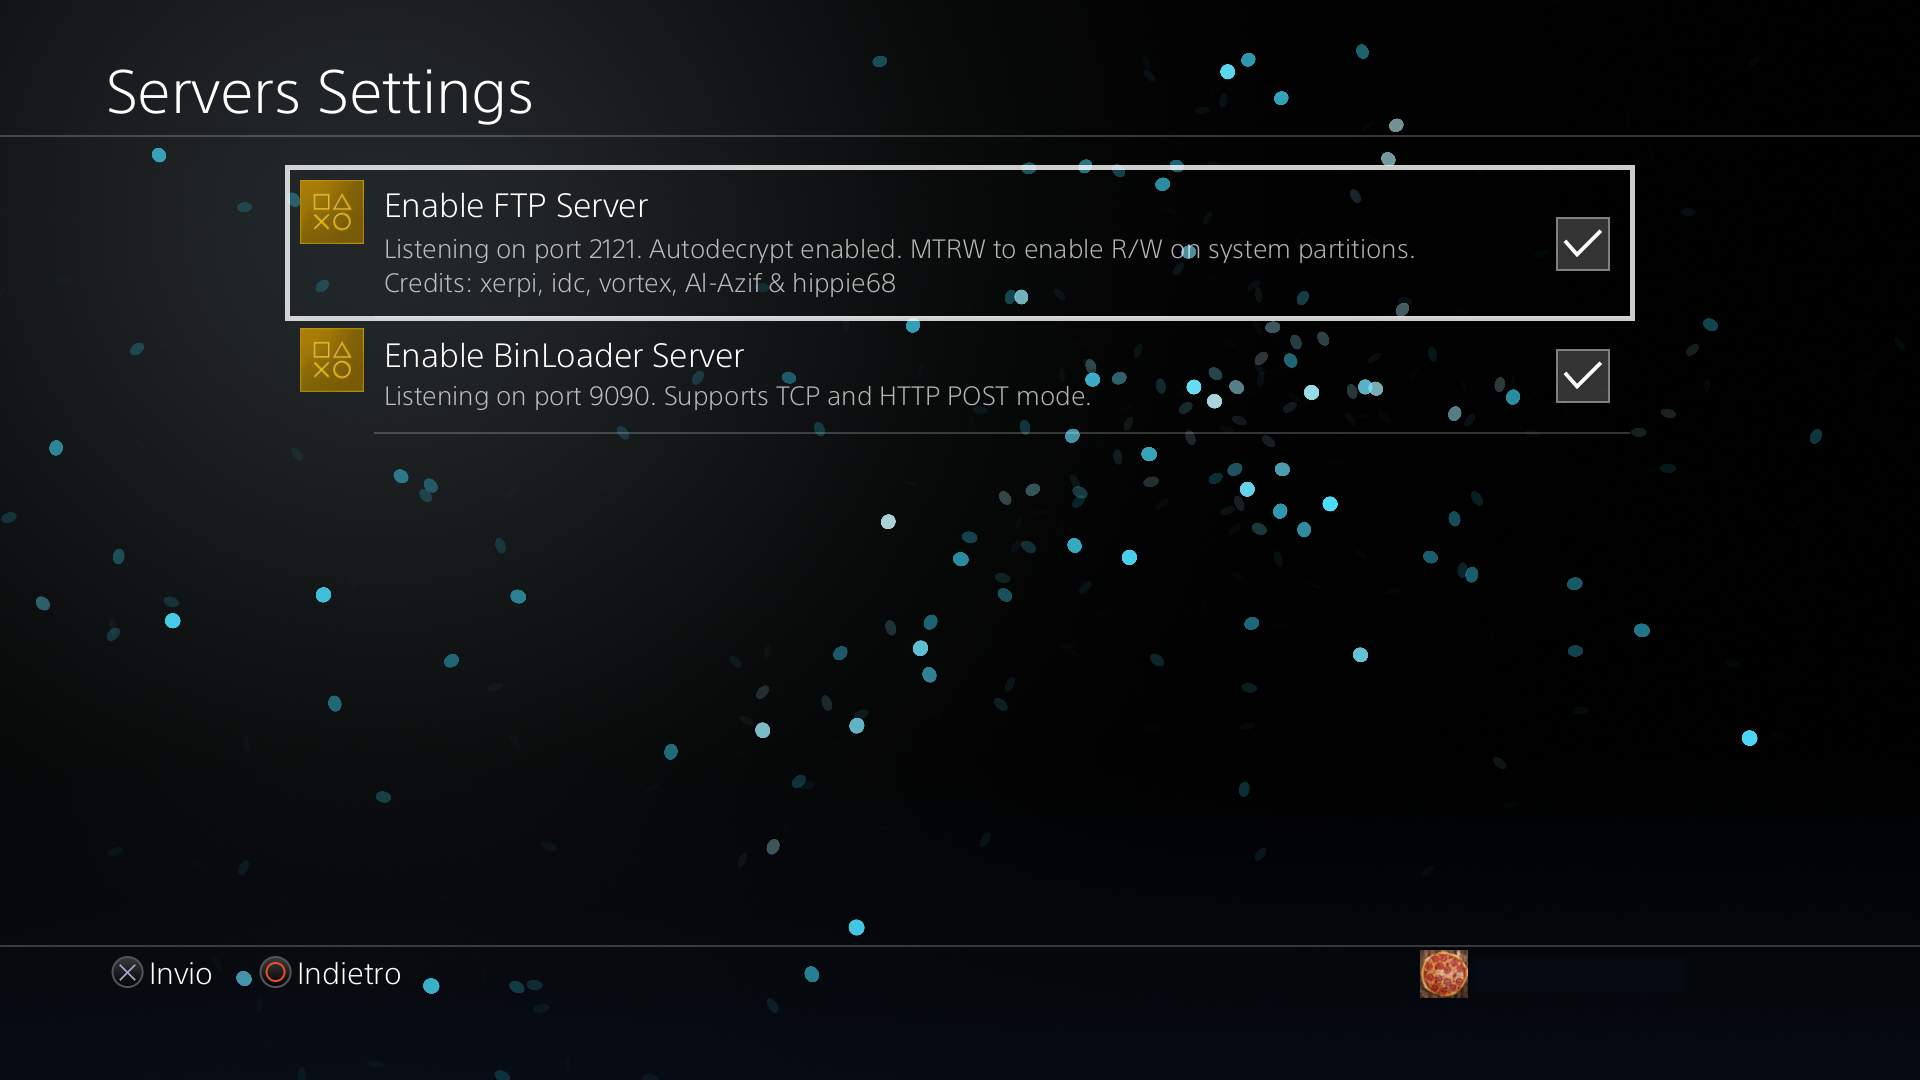
These are required to be able to move files and load Linux later into the guide.
Settings
These need to be taken as a precaution, not as a necessity, as they aren't actually needed anymore. However, as some issues may arise on certain consoles, you should still go and tweak these settings.
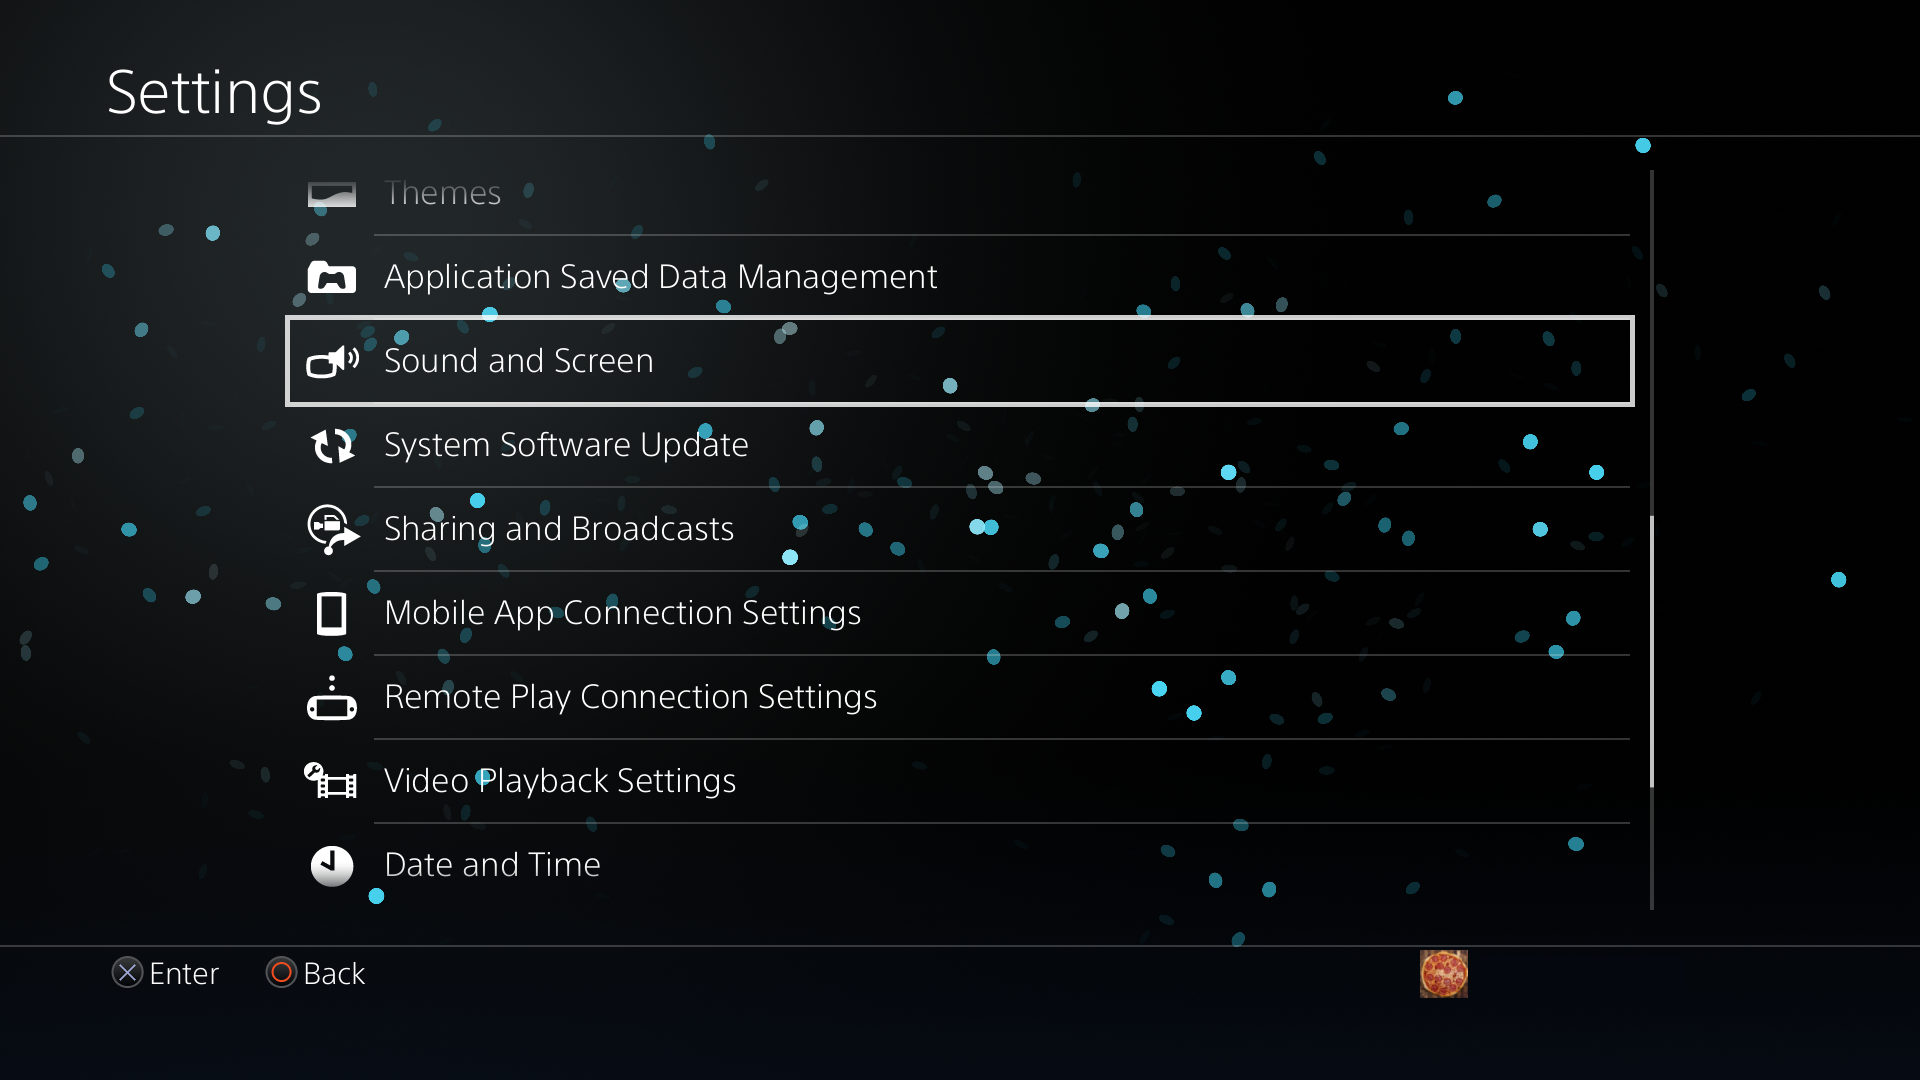
"Audio and Display" settings
Resolution

- Set your resolution to 1080p (or 720p)
- 4K may not work on PS4 Pro. Try 1080p first.
- Not always required? Works on Belize in Automatic.
RGB Color gamut
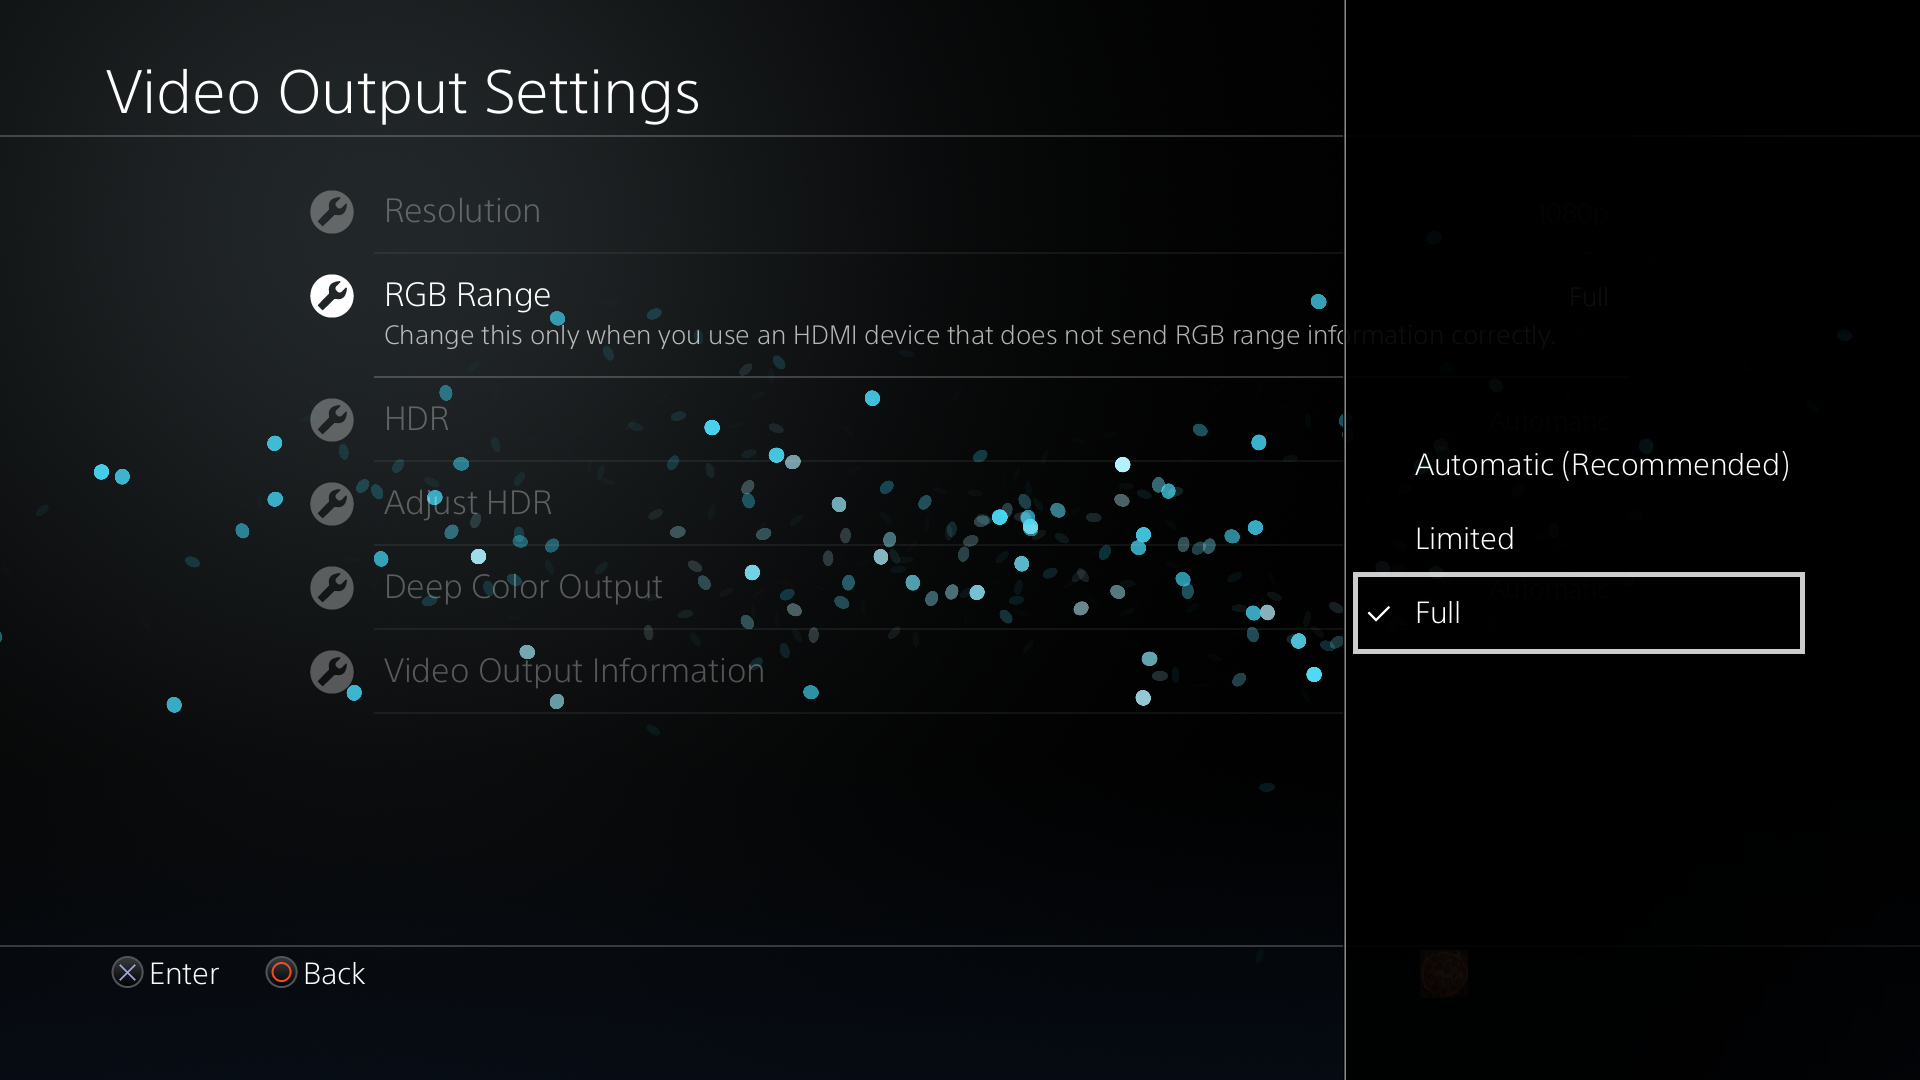
- Set your RGB color gamut
- It may be automatically set to "Limited" even if your display supports "Full".
- "Full" may not work on really old displays. If the image looks weird, set it to "Limited".
- Wide color gamut
- Disable, or you won't have any video output at all!
"System" settings
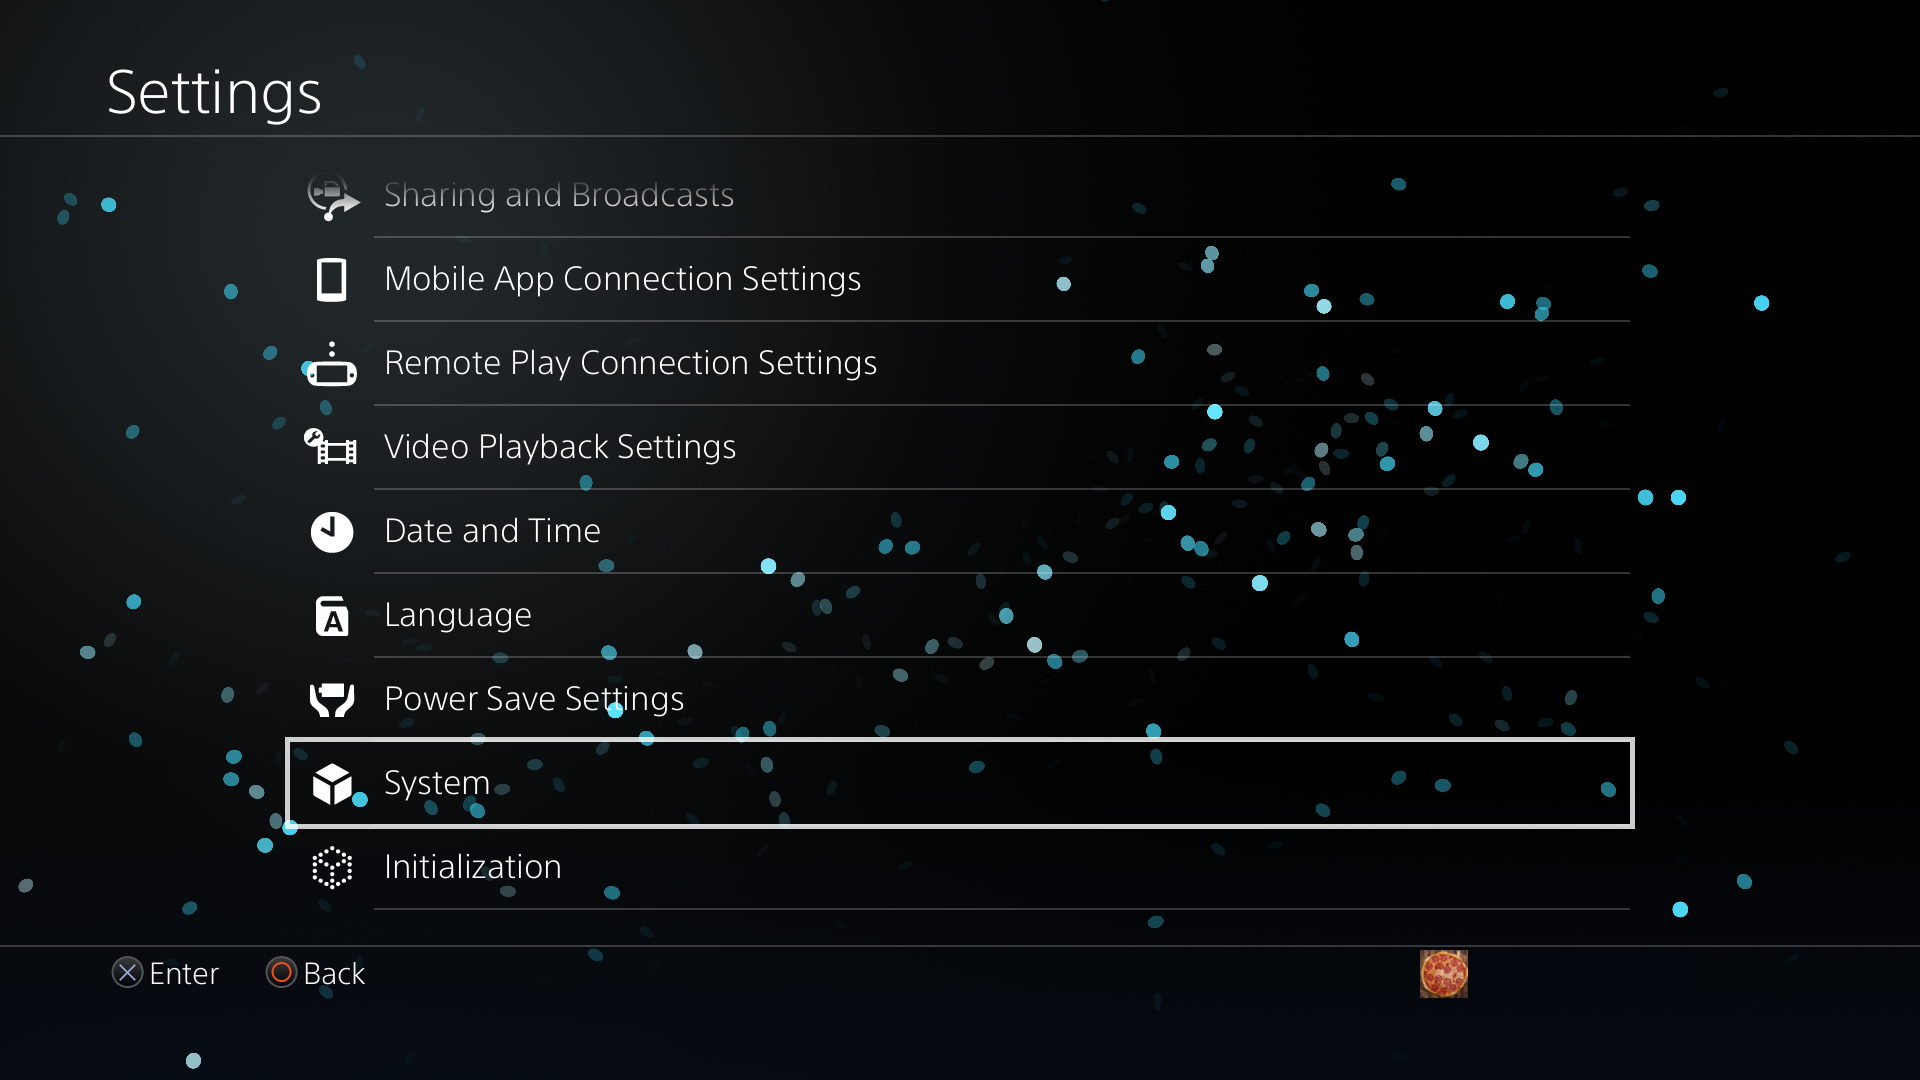
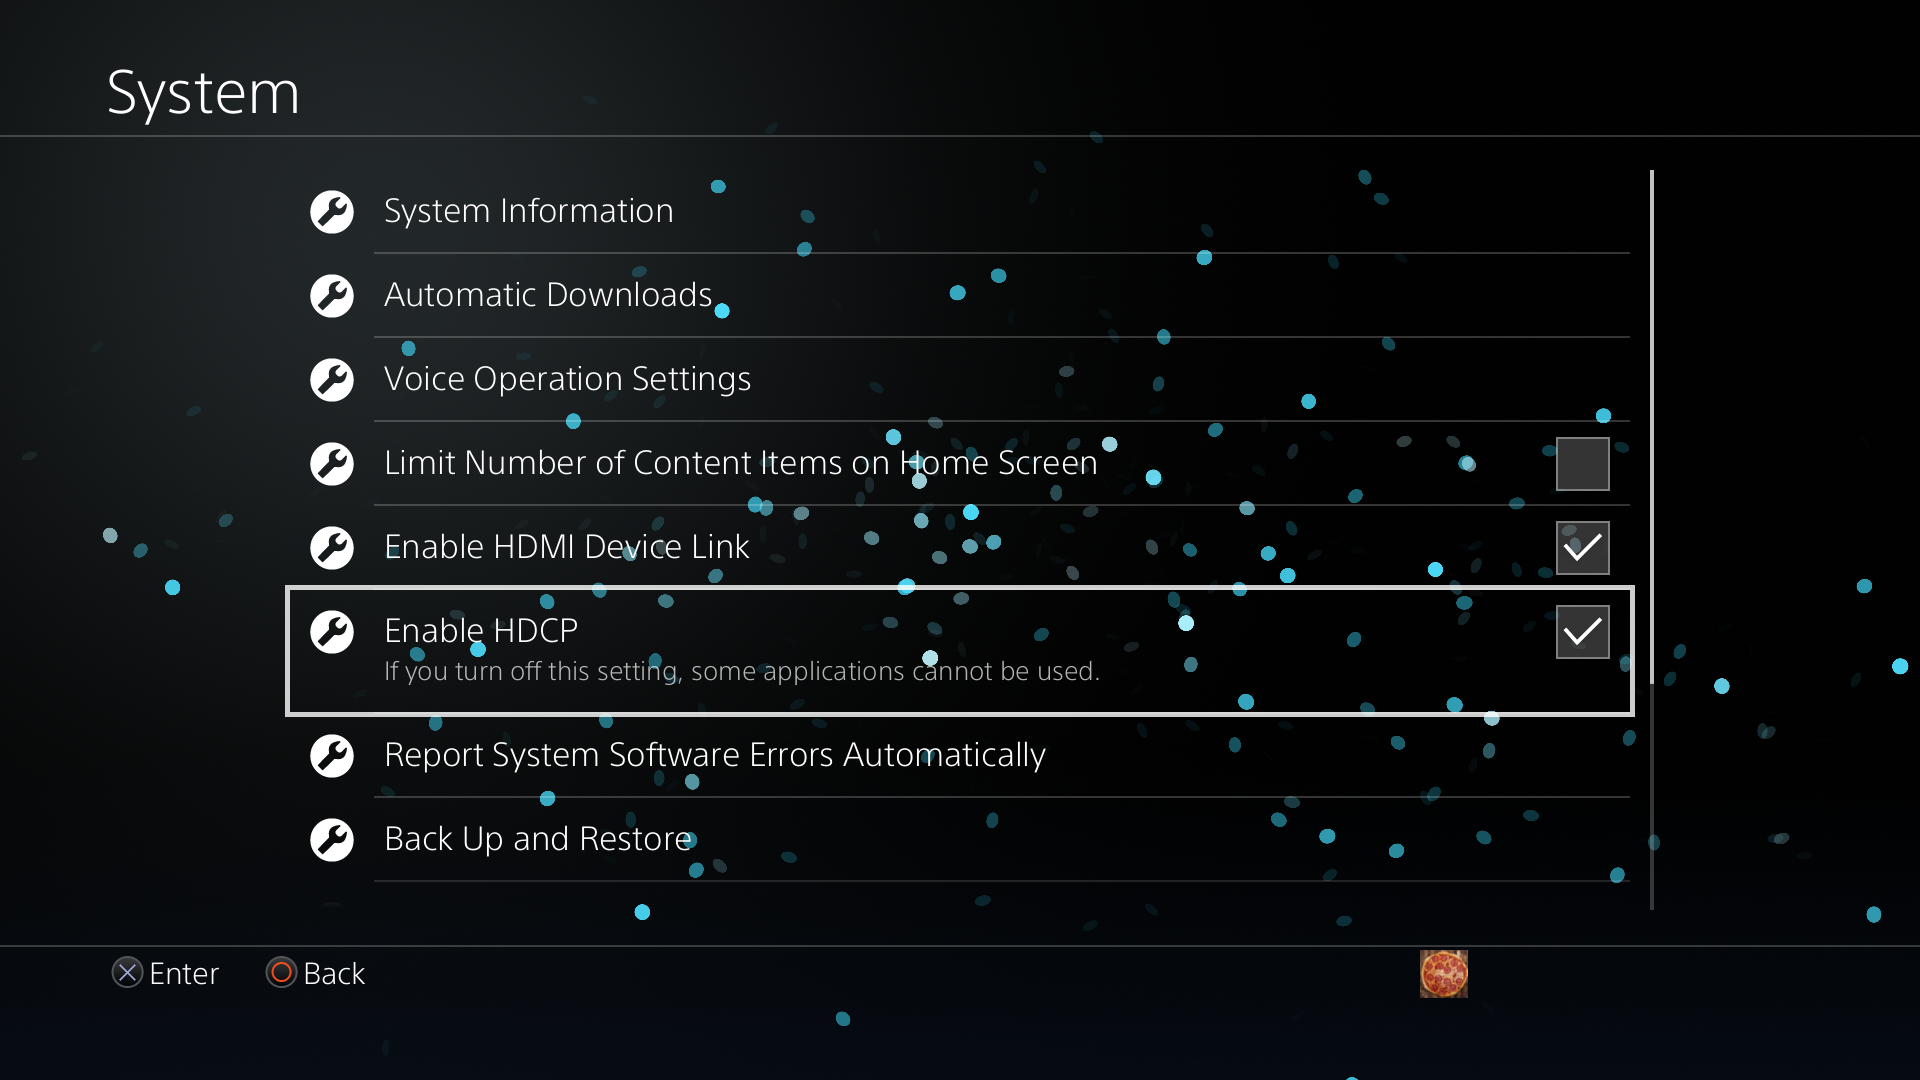
Disable "HDCP" and "HDMI device link"- This is just not true anymore. Also, it must be on for the BD-JB exploit to work.
- Check your internet connection
- Some models have issues if they aren't already connected to internet.
- Ethernet may not work on PS4 Pro Baikal
PC
You'll need a way to connect to your PS4 to transfer files. A PC is recommended. You will also need an internet connection.
You'll be accessing your PS4's filesystem from FTP. You can also transfer files with a USB drive if you feel so inclined.
FTP connections
In order to do that, open up your FTP file manager of choice.
Windows
- Windows' built-in file manager
- This one likes to crash the desktop if it can't connect, be careful
- WinSCP (recommended, using the simple interface)
- Filezilla
Linux
- Built in File explorer, if yours allows it (KDE, Gnome and Cinnamon should)
- Filezilla
MacOS
- I'm not rich, you tell me
- Probably Filezilla
WARNING
If you use Filezilla, use "binary mode" to transfer files, as the FTP in GoldHen has issues when transferring files!
Necessary files
In the next step, you also will need to download the following:
- bzImage (the kernel)
- initramfs.cpio.gz (the rescueshell/terminal before the main distro)
- A distro of your choice, already preinstalled and modified to work on the PS4
- You can also make your own. More on that later.
To the files section
You can go now go to the files section, where we'll cover how to download the required data.